Wednesday 29 July 2015

Germination and growing of Papaya


Nutrient: Vitamin C, carotenes, flavonoids, the B vitamins, folate, minerals, fiber, vitamin A, magnesium, potassium, copper, pantothenic acid

 
DESCRIPTION:

Papaya is a fruit that is eaten in all parts of the world because of its taste and health benefits. Its a good source of Vitamin C and A. Also high in potassium and calcium, a good source of fibre, and low in calories.

Papaya trees grow best in hot weather with a lot of sunlight. When you plant the seeds be sure to place them in an area free of shade.

Papayas are a short-lived plant and the younger ones produce more fruit, so keep a succession of plants to ensure a steady crop.

Papaya plants need to be planted in a well-drained area. They are very susceptible to rotting if they are over watered.


GROWING INSTRUCTIONS:

If you want to improve papaya seed germination, follow these steps:-

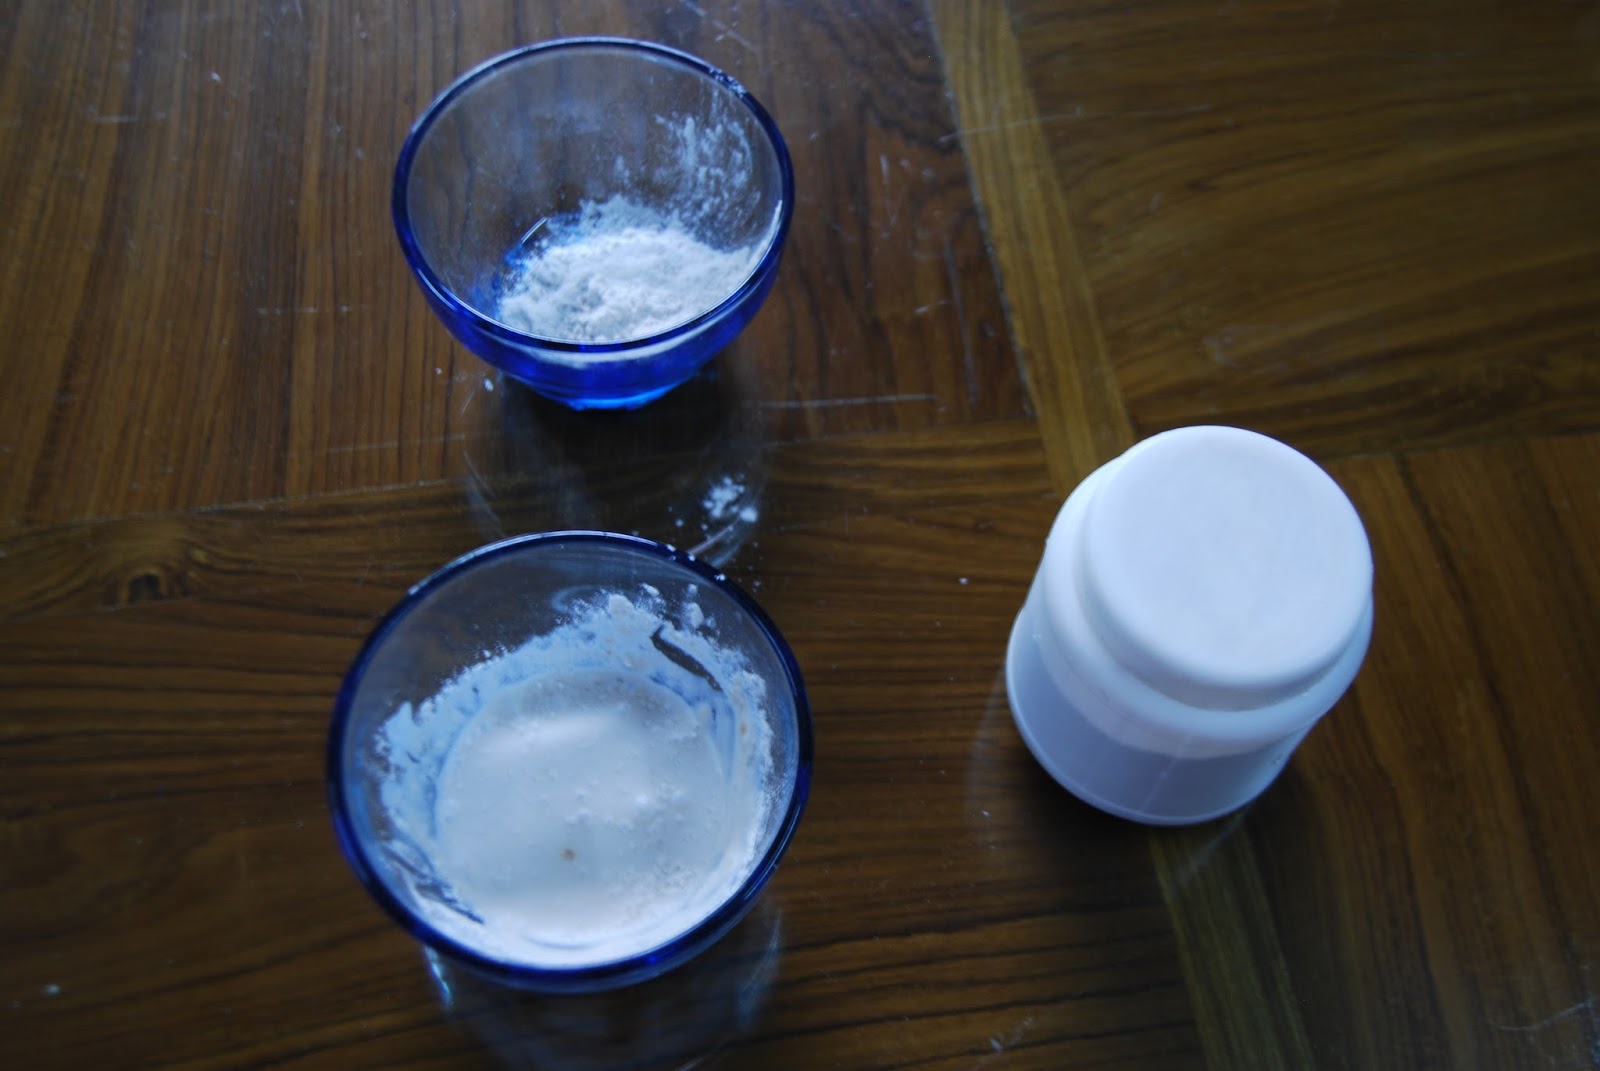
1. Mix 100 grams of potassium nitrate in 1 litre of water (3.4 ounces in 1 quart)
2. Soak seeds for 30 minutes
3. Plant immediately after soaking.


*The best way to germinate papaya seeds is to remove the arils surrounding the seeds, rinse them with warm water to remove the juice from the arils and soak them overnight in warm water. Discard any seeds that are floating in the soak.

Mix the seeds with a handful of standard potting compost. Spread evenly over the top of a pot containing at least 3 or 4 inches of a good planting mix. Or, plant five seeds in a hole with no compost or manure (do not plant them very deeply). Make sure they are planted in loamy soil in a well-drained area. Then cover the seed mix with another 1/2" of compost. Be careful to keep the pot damp but never wet! Try to maintain a steady temperature between 15ºc to 20ºc or 80 degrees F or so. Keep the area warm until they sprout. Don't keep them too damp or they are likely to suffer from damping off. Germination should take between 2 to 6 weeks. Prick the seedlings out when they have about 4 true leaves and transplant into 4-inch containers if they are in the pot.

Papayas don't transplant well. Anything that disturbs the roots of papayas really sets them back. They just hate it. The most effective way to grow papayas is to simply plant them where they are to live.

Papaya trees are very hungry. That means they need very good soil, rich in organic matter and nutrients. If you don't have fabulous soil, make some. Dig a hole half a meter across and fill it with a mix of good compost and soil. Actually, make at least two or three such planting beds in different locations. Cover the seeds lightly with more compost, and then mulch the patch well. The seeds usually take about a couple of weeks to germinate and may take longer.

Papayas start flowering when they are about one meter tall. The males flower first. Male flowers have long, thin stalks with several small blooms. Female flowers have usually single bloom, bigger, and very close to the trunk. You should end up with one very strong and healthy female plant per bed. If the weather is warm enough, and if you are growing your papayas in full sun and in good soil, then you could be picking the first ripe fruit within 10 months.


WATERING:

Papayas have large soft leaves. They evaporate a lot of water in warm weather, so they need a lot of water. But unfortunately, papayas are very susceptible to root rot, especially in cool weather. Overwatering is the most common reason for problems when growing papayas.

It depends on the temperature and on the overall health and vigour of the plant. A healthier plant will crop better, but in general, you should be careful not to over water during periods of cool weather.


How much should you give food for plant:-

As much as you can spare. Papayas need a lot of fertilizing. They are particularly greedy for nitrogen. Fertilize them regularly. You can use a complete fertilizer or something like chicken manure. Papayas handle strong or fresh manures fairly well. You should also be generous with compost, and just keep piling on the mulch as the plants grow bigger.


REQUIREMENT OF SUNLIGHT:

Papayas love heat and sunlight. You can get them to grow in partial shade, but you just end up with a spindly, sickly tree, and if you ever get any fruit it will be several meters up in the air and taste insipid.

Around the year Papayas gives fruit, as long as the weather is warm enough. Keep them happy and they will keep fruiting. (If the temperatures drop too much they stop flowering. They will flower again as it warms up.)

Young papayas are the most productive. The older a papaya plant gets, the weaker it becomes. It will produce less and smaller fruit, and it may get diseases. Also, because the plants keep growing taller it gets harder to reach the fruit.

HOW LONG DOES PAPAYA LIVE?

That can vary greatly, but most papaya plants are short-lived. As they get older they get more susceptible to all kinds of diseases. Most of the time they die within three years. But if you maintain well they will last longer and give fruits.

PROBLEMS OF PAPAYA!

Root rot is the common problem due to over-watering. Keep you papaya plants dry. The best time to cut a papaya back is during dry weather. The trunk is hollow. If it fills with water it will rot. You can protect it by covering it with an upside down a plastic pot or-or a bag. Papayas get viruses and diseases, transmitted by sucking insects.

WARNING!

Young, vigorous papayas are least affected by insects or diseases. Just keep planting lots of them, and always keep just the best. The planting method outlined above, and regular replanting, are the best way to ensure a regular supply of papaya.

If you get at least long hot summers you could grow papaya just as an ornamental plant. In this case, you would start them in a pot indoors to gain extra time. Plant them out against a sun-facing wall and enjoy the tropical look. However, you won't be able to keep your papaya alive long enough to get fruit.

Papayas require a warm climate for vigorous growth and fruit production. If your soil moisture and temperature can be moderated papaya can grow well in a pot. Given a large enough pot, the plant can grow to 5 or even exceptionally 10 meters tall. The leaves are large, deeply lobed and form a dense canopy at the top of the plant.

Fertilize the growing plant with a bucket of compost or manure every other month. Do not apply chicken manure to trees younger than two years. It will burn young papaya trees.


Tuesday 14 July 2015

Sweet William (Dianthus Plant) Germination Trips


Sweet Williams is actually a short-lived perennial, and it is possible to keep it growing for several years by dead-heading. Alternatively, leave plants that have flowered to shed seed. Remove the dead plants to allow the seedlings space to grow.

This compact plant is also suitable for a container . It is best planted together with taller flowering plants to provide vertical contrast.

SPECIFICATION OF DIANTHUS

Name: Sweet William

Scientific name: Dianthus barbatus

Color: pink, red, white, & bicolour

Plant seeds: outdoors just before winter or after frost  and  indoors weeks before the last frost

Bloom time: winter, spring, summer(depends on countries)

Hardiness Zone: 10 - 12 (reseeds itself easily)

Plant Height: 12 - 18"

Plant Spacing: 12 -15"

Light requirements: sun - part shade

Soil & water preferences: average

Activity attracts bees, butterflies, & hummingbirds.


Germination Requirements for Sweet William (Dianthus Plants):

Prepare the Media: 

Best germination, you will need to Professional quality Seedling mix. Below process is the best way to make it :

    Sieved Coco peat
    Sieved sand
    Try to use a mix of half virgin forest leaf soil for better germination if the seeds are very small.
    Fungicide (Bastian etc.)

    As per requirement, mix 80% Coco peat & 20% Sand Sieved. After mixing add Fungicide 1 gm / 2.6 Kg.
    Now sow the seeds carefully and cover mixed seedling media.Sprinkle water to keep the seeds moist.
    Cover the seedling tray with rapper and placed on the partial shade.

    Wait 10 to 14 days and check and sprinkle water frequently to keep the seed moist.


    PROTECT & CARE:


    Sweet Williams prefers a good drainage and a slightly alkaline soil. Add lime before planting. Planted in full Sun area where gets at least 5 hours of sunlight a day.
    It can put a group of plants into a shallow pot. Water well.

    Sweet Williams is very hardy and should survive in most areas.To protect the seeds from insects and birds cover the area with transparent polythene or big leaf of trees(e.g.Coconut or Date plant). After sowing the seeds use spray folidol powder.

    Loosen the soil in a full-sun garden bed with a garden fork for direct soil. Spread 2 inches of compost over the soil and work it into the top foot of soil. Space the plants 6 to 12 inches apart in all directions.Spray water slowly.

    For gardening pot: Dig the planting holes so they are twice as wide but equal in depth to the nursery pot.Set the sweet William into the planting hole and fill it back in with soil. Place the container in a semi shaded place.  


    Water Sweet William immediately following planting. Continue to irrigate once per week through the spring and summer growing season. Sweet William requires approximately 1 inch of water weekly. The soil should remain moist but not become muddy.

    Mulch over the bed with a 2-inch layer of bark or wood mulch. The mulch suppresses weeds and conserves the moisture in the soil.

    Pinch off the blossoms once they begin to fade. Remove the entire flower structure, including the swollen portion at the base where seeds are produced. Removing the old flower prevents seed formation and encourages the plant to produce more blooms.

    Add a fresh 1-inch layer of compost in spring when new growth begins. Replenish the mulch to maintain the 2-inch layer.

    Thursday 9 July 2015

    Adenium Germination Step By Step Guide


    Buy  online Rosy Adenium  


    The perfect media Coconut powder is neutral, not too acid or base and also can keep the moisture longer and no water draining. Below are the steps how to of sow seeds with this methods.


    1.Collect organic composed and fresh sand or good quality fertile Soil. Now sieved with a strainer mixed with.Take a good drain seedling tray. Or prepare fine Coconut powder by filtering with a strainer and dry on direct on sunlight.


    2. At the time of filtering can get two types coconut fibre and separate with another basket.


    3. Use water mixed fungicide chemical for watering dry coconut powder until it's soaked. To protect the baby seedling fungicide chemical is very important.Through this process, the roots will be nice.

    4. Use thick coconut fibre on the bottom of our sowing pot. They will be works as a strainer can control water flow and also protect coconut powder flow out from the bottom of the pot.

    5. Now cover the fine coconut fibre.

    6. Use small amount "Organic Fertilizer like fish fertilizer ", and this fertilizer will help the baby and younger seedlings and also them growing stronger and healthier.
    Please do not use chemical fertilizer to just boost up the growth rate but it can weaken them in future growth.

    7.Cover again with fine coconut fibre.and spread again good fertilizer (Do not use more)all over the coconut powder.

    8. Cover with small amount fine coconut powder again.


    9. Now Watering them and watch until you see water come down from the bottom of the pot .


    10. Now make s different row for sowing the seeds.

    11. Use the clipper lightly to put each seed in each row very gently horizontally.


    12.Use tag, name and date for your identification.


    13. Cover it with dry coconut powder again, and keep the distance about 1 cm height.


    14. Again use water until top coconut powder just getting wet .15. Use the wrapper to cover pots and place them in the shade for a week.


    16. Open the pot cover after a weak, and new baby seedlings growing up from media. Sometimes they take 8 to 10 days.

    17. Spread again light fertilizer all over seedlings. Hope you will enjoy.


    Rooting Hormone step by step guide

    It dramatically increases the odds of success with propagation after use properly. It can be used on hard(Need more contents) or soft plants, as well as corms and bulbs.
    Steps Rooting Hormone


    1. Remove the cutting from the parent plant. Use only cuttings from vigorous and healthy plants, and make sure the growing tip is between 2 inches and 8 inches long. The cutting should be taken near a node at the end. Remove any leaves or flowers from the node, and if it's a hardwood cutting, lightly score the cutting.

    2. Moisten the cutting lightly. However, if you're using a rough cutting, like a wood cutting, it is not necessary to moisten it.

    3. Dip the cutting into the powder. Immerse the cutting into the powder slightly higher than the planting depth. Shake the excess powder off by lightly tapping the cutting against the edge of the container.

    4. Plant the cutting in any high-quality potting medium. Make sure the hole is wide enough that the rooting hormone is rubbed off as you sink the cutting into the soil. Do not allow rooting hormone onto nearby plants or cuttings as it might be toxic to established plants.

    5. Tamp down the soil around the cutting to remove air pockets. Keep the cutting warm (at least 60ºF) and moist. Many plants will root better if they are kept out of direct sunlight.

    Using on Bulbs and Corms:


    Rooting hormone is also effective as stimulating root production on corms and bulbs. Simply put the bulb or corm in a plastic bag with a small quantity of rooting hormone and shake it to coat with a light layer. Plant.

    African violets, carnations, fuchsia, geraniums, jasmine, willow, viburnum, roses, begonias, gardenias, coleus, philodendrons, poinsettias, chrysanthemums, euonymus, hydrangeas, phlox, raspberry, most home plants, garden and greenhouse plants


    Cautions about the  Hormone
    Rooting hormone is effective, but it is a hazardous material. Some manufacturers recommend against using rooting hormone on food plants, so check the label cautions to make sure the variety you're using is safe for food plants. Also, do not dispose of excess rooting hormone in areas where it can contaminate water supplies or soil. It should be treated like any bioactive chemical and disposed of in a solid waste facility.

    About Rooting Hormone?
    Rooting hormones were discovered in the 1930s by Dutch scientists. Today, the most common rooting hormone is a chemical called indole-3-butyric acid, or I3B. It is available in both liquid and powder forms. However, home growers rarely require the liquid form because their volume is so low. As a result, the most common product available in garden centres is the powdered rooting hormone.

    Which Cuttings should  I Use?
    Rooting hormone will work on a variety of cuttings, including new growth, brittle stems, woody stems, and others. It's also very useful for grafting, and will dramatically increase the success of grafted plants.


    Now you can pot this plants with normal fertilizer. 

    Tuesday 7 July 2015

    Treating Root Rot


    Treating Root Rot

    Overwatered grass at times, seems not only to recover later. The entire plant leaves begin to yellow and dull slippery slope toward death. The question which they try to lay down the fields of irrigation, but there is no advantage is seen. Chances allow the root system.

    Root Rot:

     Two root - overwatered long exposure poverty conditions roots can someone dies. Dying can begin to rot. The red killing healthier roots can be spread equally, even if soil conditions are corrected.

    Fungus in the other is the origin out of the ground. The fungus can lay dormant in the soil indefinitely and can only flourish when suddenly the most once or twice overwatered. Root rot the roots die mushroom

    How Does Root Rot Look Like? :

    If you are unsure as to whether it may be of the root of the root of a plant to look at him in great surprise what the man? If the yellow leaves to wither and for unknown reasons, the body gradually wants to check the roots. 'Be taken up and feel the seed of the land, the roots. The roots of the root affected the black look and feel mushy. Literally, fall to plant roots can be affected by touch. Healthy roots can be black, or pale reddish brown, but grow strong and flexible it is.

    Treatment of Root Rot :

    Whether the problem is more overwatering or one overwatering root fungus that causes flare red, need to act quickly. The treatment plant root as soon as possible to give the best chance to survive.

    Begins to treat the plant by removing the water from the earth and wash the roots. Affected as far as it is the root and the offspring alone, to wash away, while they were a lighter of the plant.

    Continue with sharp, clean shears or scissors to cut any of the affected roots. But if you are going to the root, so that a significant amount of the work to remove the root system, and if it is affected. If this is so, the third to a half, and the world in the grass of a pair of scissors cut the leaves of alcohol or the scissors. This leaves many plant roots to grow better chance with the support they need.

    He was taken away in a pot of earth, placing of the root in the grass. Moreover, the street of the solution, wash the pot.

    If possible, immerse the remaining healthy roots in a fungicide solution to kill the possible root fungus. After treatment, the root of a plant, the plant repotting mix with clean potting soil.

    He has good drainage and water container plants dry soil safely. While the grassroots Renewable does not fertilize the plant, as this will stress it. Lest again, in a system of the force of the root to be treated. Hopefully, now the plant will recover to get back to your beautiful Jerusalem houseplant.


    Fusarium Wilt Disease & treatment


    Fusarium Wilt Disease: Controlling Fusarium Wilt

    There is in us, and holy is the name of the fungus Fusarium. Many species of solo- this is borne pathogen that infects plants, ornamental flowers, and with the vegetables, the top of the list. Fungus Fusarium wagging this indefinitely. The effect of the soil, on plants or that, is contaminated by one another, Fusarium wilt fungus produces -Krankheit, also known as " pale. " On the names of the principal sign of the disease self-explanatory. In the death of plants, greenhouse Fusarium the chief magistrates, to take place between individual skills cultivated at all, has the ability to run rampant plants.

    Fusarium Fungus:

    Fungus of the potato plants in the family like tomatoes and peppers. It is also called the flowers, and the trees, greenhouse. Fusarium oxysporum deliver the roots of young plants and structure blocks move into cells. Once in were blocked, could not the grass of the nourishment of the cells can hold no water.In the first place, what is a sign of India is burnt out? Fusarium disease progresses, the leaves are withered, jaunies leaves and stunting. The worst symptoms during the day to recover, but in the sun You see clearly in the dark. , In time many plants succumb and die, while they culled a few flowers or fruits and produce some spread their stays together poorly.

    Because of the contagious and tough kind of mushroom power Fusarium When a few Ausweichverfahrenzu . Fusarium wilt fungal prevention is better than cure is possible.

    Control of Fusarium:

     Wilt Fusarium oxysporum is especially in the warm of the earth. It is nourished, that with the purpose of old plant debris and soil. It is better to not change for weeds choke the rotation of the sterilization.

    Thou shalt not plant in the same place in the same year of the crop.

    When the street was barren: and the caldrons, and the earth, and when the solution. No bed solarization by the spread on the floor in a black plastic month to kill the fungus. It is, therefore, high temperatures extreme " to boil," is the good and fungus Fusarium.

    Washing tillage equipment, shoes and away they could become infected soil. But if you think it could be contaminated by the year with no plant to remove the debris to burn with passion. Do not compost contaminated material, this is a perfect environment for the spread of the fungus Pliny.

    Treatment:

     Which are useful fumigants against Fusarium mushroom. For we must observe the application of most of them, the good pleasure of the name of the love you bought it. Fungicides are used to soak the roots or Rod.

    Remove the soil around the roots of the bulb, and then rinse thoroughly corm or tuber. , Retaining the organs in a bucket of water with a fungicide to enjoy the projecting roots and ecological debt.

    Taxes fungus Fusarium in the garden relies on crop rotation, clean and hygienic practices. Always inspect new equipment before they buy. I remember prevention is the best way of governing the soles of the Fusarium and many other diseases.